Success in Soil Stabilisation
9 Steps to a Successful Soil Stabilisation Project
Successful soil stabilisation is about more than mixing binder into the ground. To achieve reliable results, you need proper planning, the right materials and controlled execution. However, not every project requires all nine steps below. If your goal is simply to solidify wet or unstable material to make it easier to handle, load and transport, the process can be considerably simpler than improving ground for construction. The necessary steps depend on your material, project objectives and any environmental or disposal requirements. Whether you’re preparing land for construction, treating contaminated soil or simply making difficult material transportable, this guide will help you understand the key stages and identify which ones matter most for your project.

Step 1. Understand what’s beneath the surface
First, you need to understand the ground you’re working with. Start with soil investigations to identify different soil layers, their depths, moisture content and other important characteristics. Sampling and laboratory analysis will help you identify potential challenges, such as organic material, variable soil conditions or contamination. Without this information, estimating costs or choosing the right treatment method becomes difficult. Work with a qualified geotechnical specialist who can investigate the site and establish the information needed to plan your project successfully.

Step 2. Evaluate whether stabilisation is the right method
Before committing to a solution, you should compare soil stabilisation with alternatives such as excavation and soil replacement, piling or other ground improvement methods. Preliminary investigations and stabilisation studies will help you understand whether the soil can be treated effectively. Consider the required treatment depth, site accessibility, available working space and expected costs. At this stage, it’s worth involving your geotechnical designer, laboratory and equipment specialists. Getting everyone involved early helps you identify potential challenges and avoid expensive changes once work begins.

Step 3. Test the soil and find the right binder recipe
Next, you need to find out which binder works best with your soil. Different materials react differently to cement, lime and other stabilising agents. Laboratory tests will help you compare binder combinations and dosages to achieve the required strength and performance. This is particularly important because binder consumption can represent a major portion of your project costs. You want to use enough binder to achieve reliable results without unnecessary overdosing. Have qualified specialists develop and verify the binder recipe before starting full-scale work.

Step 4. Finalise the geotechnical design
Once you have the soil investigation and laboratory results, it’s time to finalise your treatment design with a qualified geotechnical engineer. You’ll need clear specifications for the stabilisation area, treatment depth, required strength, settlement limits and other performance targets. Make sure the proposed binder recipe and treatment method can achieve these requirements. If laboratory results don’t support the initial design, adjustments may be needed. A well-prepared design gives you clear objectives and helps prevent unexpected problems during construction.

Step 5. Prepare a clear work and quality assurance plan
Before starting construction, make sure you have detailed drawings, clear work instructions and a quality assurance plan. You need to know exactly where and how deep to treat the soil, how much binder to apply and how mixing quality will be monitored. Define the testing methods, acceptance criteria and reporting responsibilities in advance. This makes it easier for everyone involved to work towards the same objectives. Most importantly, a clear plan helps you recognise problems early and take corrective action before they affect larger areas of your project.

Step 6. Calculate your costs and plan the jobsite
Now you can prepare your project budget and production schedule. Calculate the soil volume to be treated, estimated binder consumption, equipment requirements and expected productivity. Don’t forget binder deliveries, site access, equipment movements and potential downtime. Plan how you’ll progress through the treatment area and where you’ll position your equipment and binder storage. Efficient mixing and accurate binder delivery can make a significant difference to your operating costs. Good preparation helps you keep production running smoothly while maintaining the required quality.
Step 7. Carry out controlled and consistent stabilisation
When you’re ready to begin, follow the approved treatment design carefully. Divide the work area into manageable sections or treatment blocks, each with a defined volume, depth and binder quantity. Make sure the binder is distributed thoroughly throughout the material, including block edges and different soil layers. Accurate dosing and consistent mixing are essential for reliable results. Using equipment that monitors binder delivery and records production data can make your work easier to control. If you encounter unexpected soil conditions, consult the responsible specialists before making changes to the approved process.

Step 8. Verify quality throughout the work
Don’t leave quality control until the project is finished. You need to monitor the work continuously and verify that the treated soil meets the required specifications. Depending on your project, this may involve soil sampling, test pits, field measurements, soundings or laboratory strength tests. Production records can help you monitor binder consumption and mixing progress, but they don’t replace testing of the treated material. Work with your quality control and geotechnical specialists to review results and make necessary adjustments before potential problems become expensive to correct.

Step 9. Document the results and confirm project completion
Finally, make sure you have the documentation needed to demonstrate that your project meets its requirements. Collect treatment locations, actual binder quantities, production records, quality test results and any changes made during construction. Some projects also require follow-up testing to verify strength development, settlement or environmental performance over time. Have the responsible specialists confirm that the treated ground meets the acceptance criteria before moving on to the next construction stage. Good reporting gives you confidence in your results and valuable information for future projects.
Planning a soil stabilisation project?
Every soil improvement project comes with its own challenges, but you don’t need to explore the practical solutions alone.
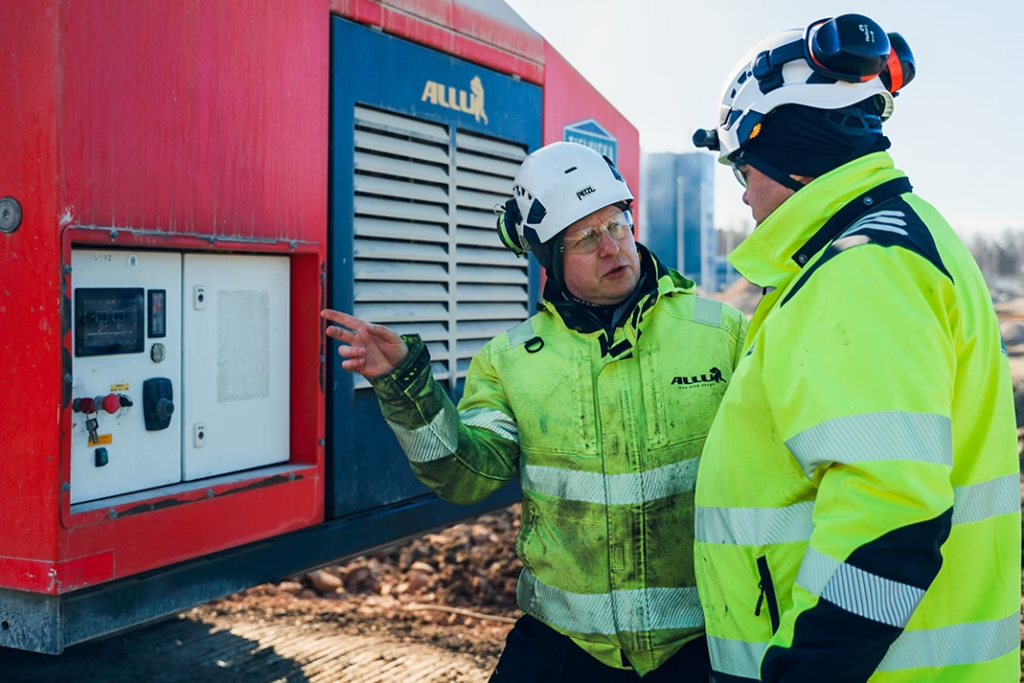
At ALLU, we help you understand your mixing equipment options, plan efficient binder delivery and find practical ways to handle demanding soil conditions.
Our Soil Improvement System with ALLU PF 7+7 NextGen Pressure Feeder delivers precise dry binder delivery, ALLU PMX Processor brings powerful mixing capabilities and ALLU DAC.2.1 control system accurately controls the pressure feeder and the binder feed according to set parameters, and also provides all the necessary reports and proof of how the job has been executed.
Geotechnical design, laboratory testing and environmental approvals should always be handled by qualified specialists, and we can help you connect with suitable experts when needed.
Could ALLU work for your project?
Book a free 30-minute session with our experts to explore your options.